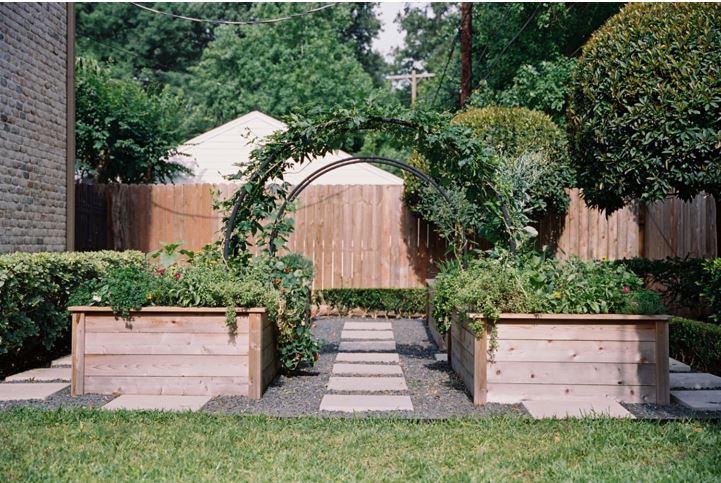
Adding a touch of elegance and functionality to your garden can be achieved through a simple yet impactful DIY project: building a 2×4 garden arch trellis. This versatile structure adds height and beauty to your garden and supports climbing plants.
In the upcoming sections, we’ll take you through a detailed, sequential guide on crafting your garden arch trellis.
Table of Contents
Step 1: Measurements and Planning
Select the ideal placement for your garden arch trellis. After that, take measurements of the chosen spot’s width to guarantee a precise fit. Decide on the height and width of the arch, keeping in mind the growth of your climbing plants. Moreover, mark the measurements with a pencil on the ground.
Step 2: Cutting the Lumber
Using the measurements from Step 1, cut the four 2×4 lumber pieces to create the arch’s uprights and horizontal beams. Cut two 2×2 pieces to form the arch’s apex. It would also help to use a saw to achieve precise cuts and then sand the edges to prevent splinters. Click here for more details related to this!
Step 3: Assembling the Uprights
Lay the 2×4 lumber pieces on the ground, parallel to each other, at the marked distance. Place the shorter 2×2 arch apex pieces across the top ends of the uprights, forming the arch shape. Additionally, ensure everything is level and squared off before moving on.
Step 4: Attaching the Horizontal Beams
Position the two horizontal 2×4 beams across the uprights at your desired height. Furthermore, secure them in place using wood screws and wood glue. It will also form the basic structure of the garden arch trellis.
Step 5: Creating the Arch
Gently bend the 2×4 lumber pieces to create the arch shape, securing them to the apex with screws and glue. A helper during this step can make it easier to maintain the desired shape and stability.
Step 6: Finishing Touches
Inspect the trellis for any sharp edges or rough spots. Sand down any areas that could potentially harm plants or hands. You must also consider applying a weather-resistant finish to protect the wood from the elements. Furthermore, stain or paint the trellis to complement your garden’s aesthetic.
Step 7: Installing in the Garden
With your trellis assembled and finished, it’s time to install it in your garden. Dig holes for the uprights at the marked location. Moreover, please make sure they are deep enough to provide stability. Insert the uprights into the holes and pack the soil tightly around them to secure the trellis.
Step 8: Training Climbing Plants
As your garden arch trellis takes shape, introduce climbing plants such as roses, vines, or jasmine. It would also be best to secure the plants to the trellis using soft ties or garden twine, guiding their growth along the arch’s structure. Regularly trim and prune the plants to maintain their shape and prevent overgrowth.
Summing Up!
By following these steps, you can create a stunning 2×4 garden arch trellis that not only enhances your garden’s beauty but also supports climbing plants. This DIY project also allows you to elevate your garden’s aesthetics while adding a functional element that will bring years of enjoyment.

